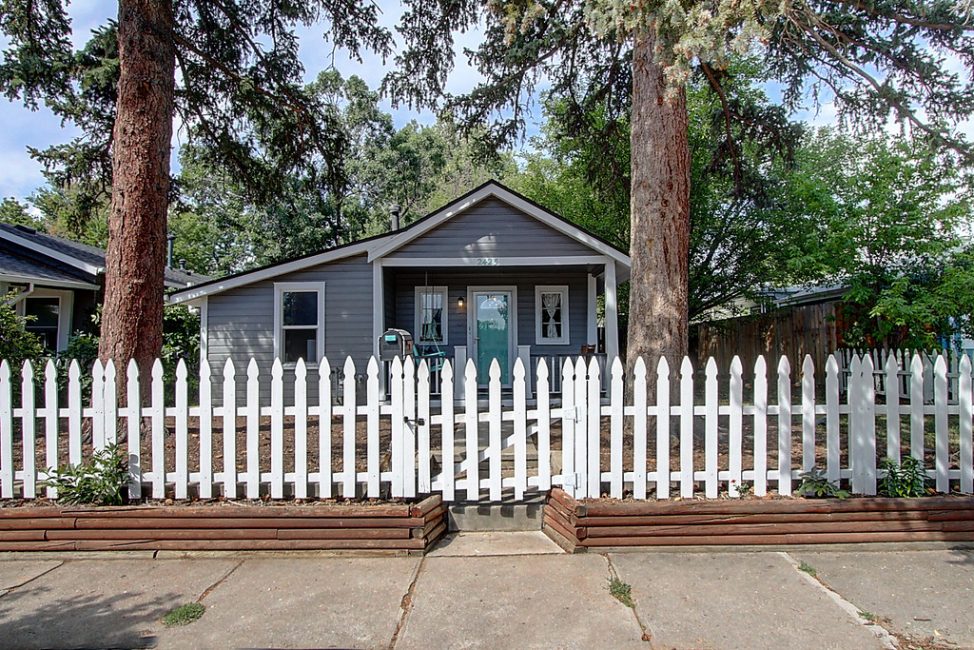
Great photos are as important as anything in selling your home. It’s always a good idea to get the best photos you can, and that means working with an experienced real estate photographer.
At last count, Jenn Cohen, Trelora’s Lead Photographer for Denver, had photographed 3,169 homes in her 7 years at Trelora. If you can benefit from that kind of experience, you absolutely should.
However, during this time of social distancing, many sellers are wondering if they can take photos of their own home when listing it for sale. You can take your own photos, and we’re here to help!
Although there is definitely a difference between pro photos and iPhone photos, Jenn has shared her expertise in this guide to help you make the most of what you have and get your home ready to sell.
Getting your home photo-ready
Your photos will only look as good as your house looks, so even if you are taking your own photos, be sure to follow these steps to get your home looking its best.
- Declutter. Clear as much as you can from counters and furniture. You may even want to move some furniture out into the garage if your home feels crowded. Spaces will look bigger and more welcoming with less clutter.
- Depersonalize. Buyers want to be able to see themselves in your home, not to see you. Clear out your wedding photos, travel tchotchkes and other knick knacks for photos and showings alike.
- Wait for the sun. Your home will look best with plenty of natural light, so if you can wait for the sun to come out, do it. One benefit of taking your own photos is that you can shoot different rooms at different times. You may find that some rooms look best near sunset when there’s an indirect glow instead of a stark beam of light.
- Turn on the lights. Every overhead light and lamp should be on for your photos. Open blinds most of the way, and turn shutters to be parallel with the floor to let in light.
- Turn off everything else. TVs, computer screens, ceiling fans, and anything else that might move should be switched off during photos.
- Move your car. If you have a driveway, make sure it’s clear of vehicles. If you are able to move cars from the street in front of your house, do so as well to leave an unobstructed view.
What device to use and how to use it
If you have a modern iPhone or Android smartphone, chances are it takes relatively good pictures. And unless you’re an avid photographer who knows your way around a DSLR, your phone will almost certainly do the trick.
Three quick tips to get the most out of your phone’s camera:
- Take photos in landscape mode. Real estate websites display photos best in a wide aspect ratio.
- Turn the flash off. Buyers want to see the ambient light of your home, so the flash isn’t necessary.
- Use HDR if possible. HDR stands for high-dynamic-range, and basically means your camera takes multiple photos at different exposures, then combines them. Using HDR will help minimize the contrast between inside and outside in sunny environments.
How to take great real estate photos with your phone
You can get great photos without any special equipment if you follow these simple guidelines.
Hold your phone perpendicular to the ground.
For a cleaner look, don’t tilt your phone up or down. Shoot most rooms from about chest height to give buyers a view that approximates what they’d see when standing or sitting in the room.
Do
Don’t
Photograph the room, not the furniture.
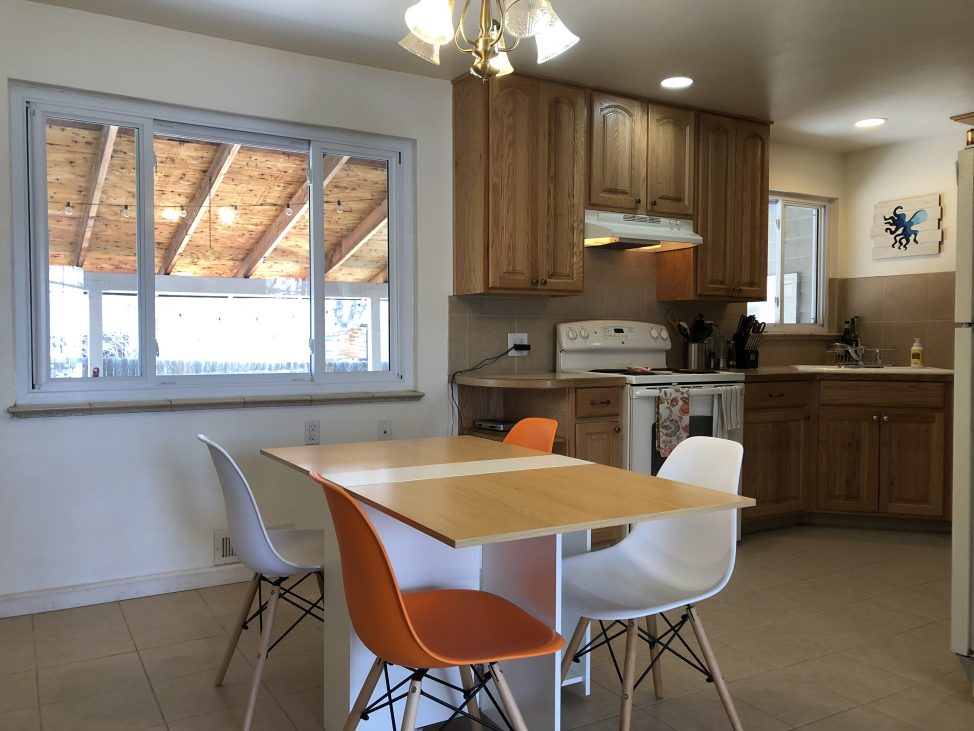
Avoid focusing on furniture and make sure to capture wide angles of every room. Whenever possible, include 3 walls in each photo by standing as far back in a corner as you can.
Do
Don’t
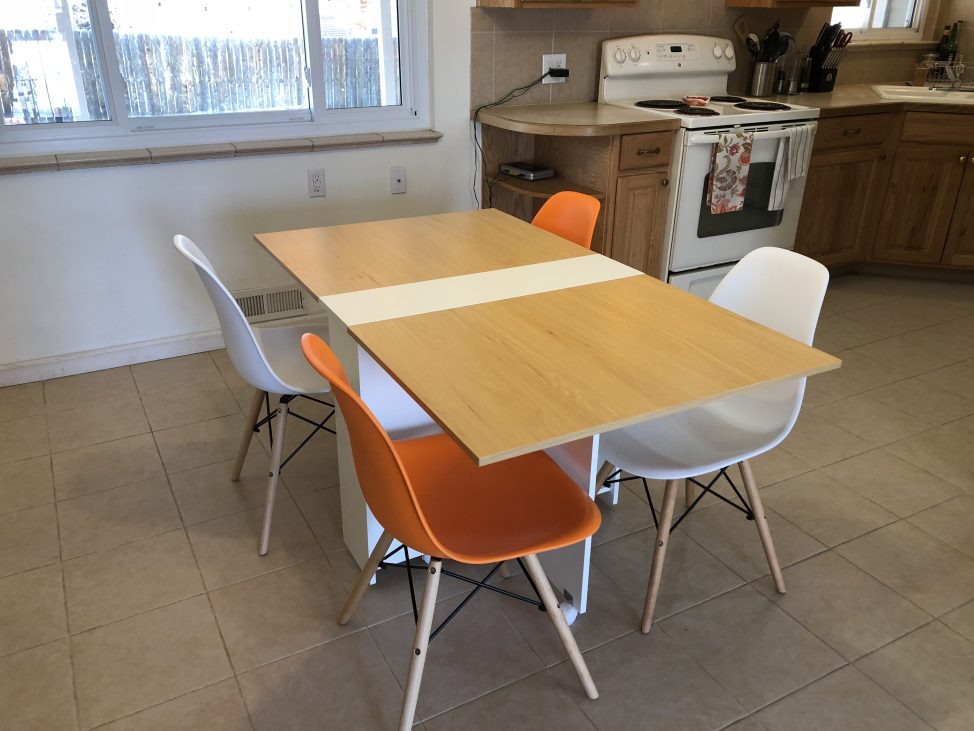
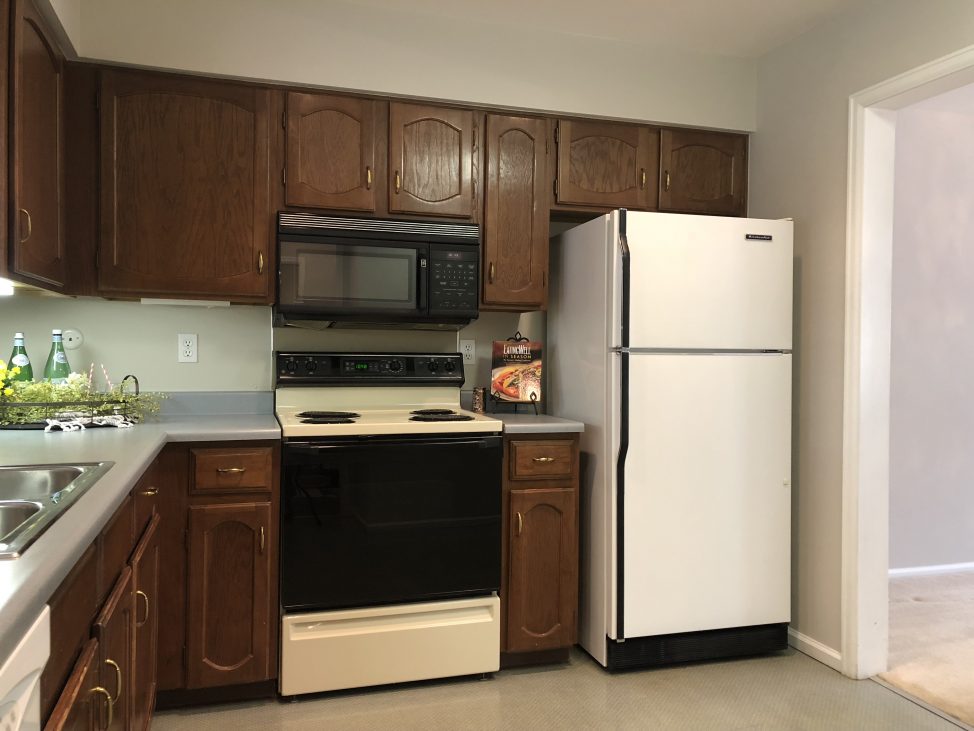
Show how each room connects to the next.
This will help buyers get a sense for the flow of your home.
Do
Don’t
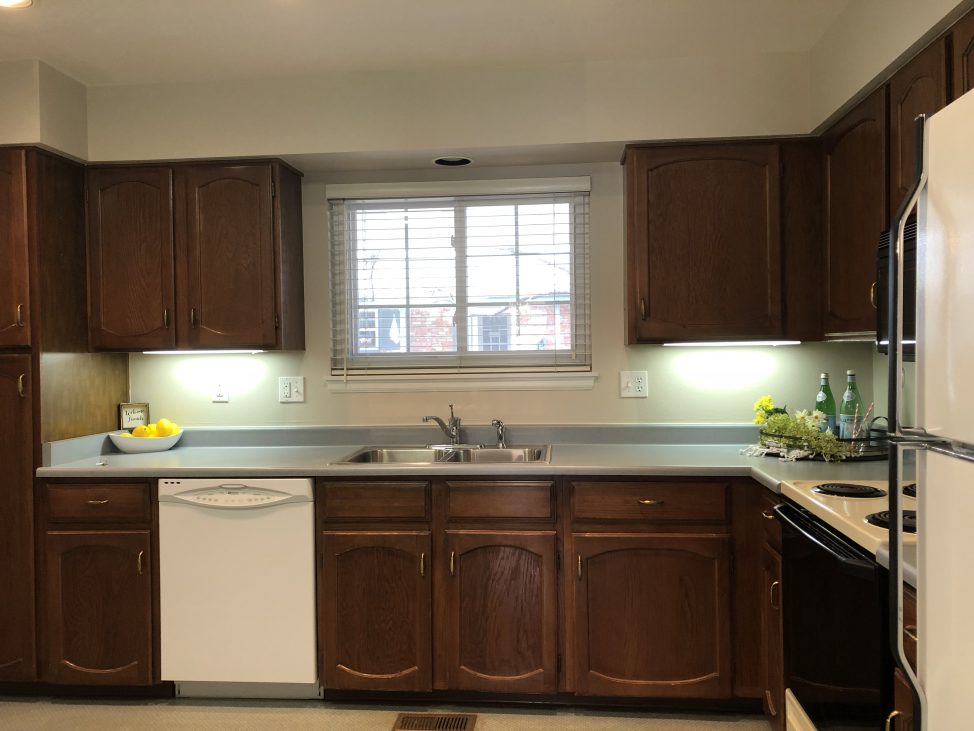
Shoot in landscape.
Vertical photos might look great on social media, but real estate websites still show photos best in a wider aspect ratio.
Do
Don’t
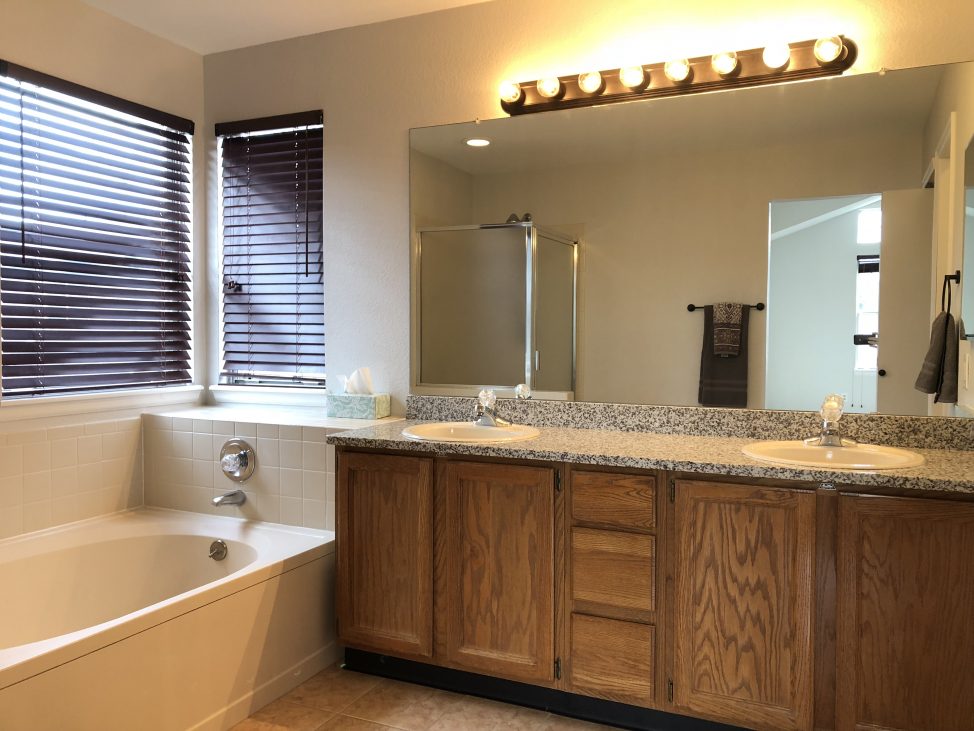
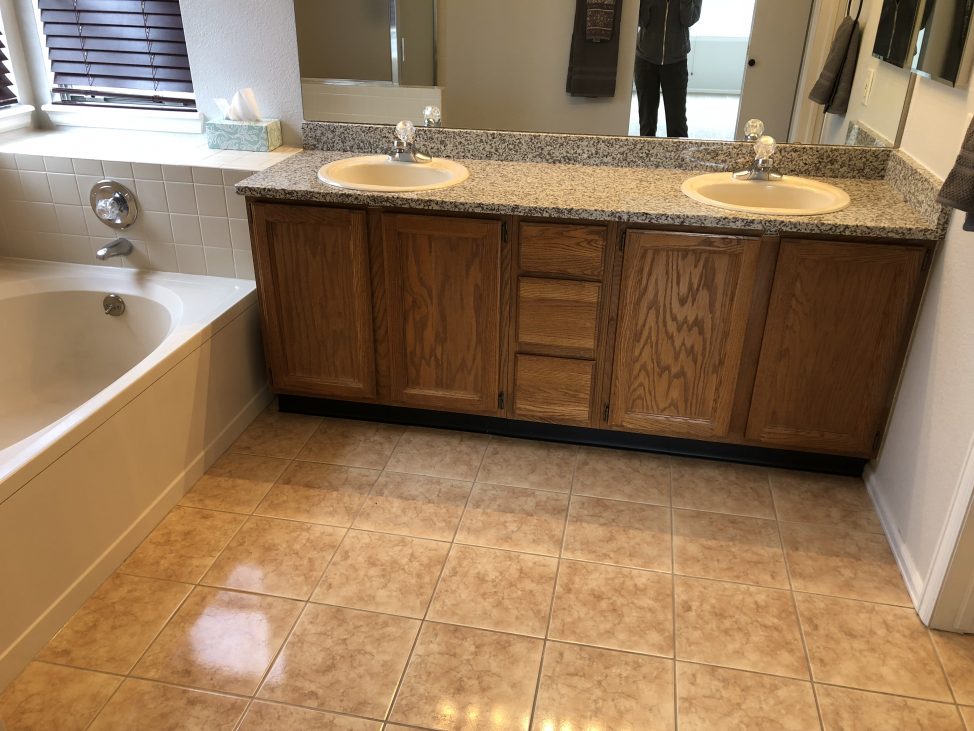
Watch out for your reflection.
Take a look at mirrors, TVs, windows, and shiny appliances to make sure you can’t see your reflection. Buyers want to see themselves in the home, not you!
Do
Don’t
A room by room guide to great real estate photos
Living and Family Rooms
For these bigger spaces, it’s a good idea to take a photo from every corner, looking into the room. If there are any notable details, like fireplaces, take an extra photo of them. It may take up to 5 photos to cover a large living or family room, and that’s ok! It’s better to have to choose from too many photos than to be missing a shot you want later.
If you aren’t able to see three walls in a photo, consider using a panorama setting to take a slightly wider image (but not a full 360). This can simulate the effect of a wide-angle lens without any special equipment.
Kitchens
The kitchen is the most-used room in the house, and it’s the single most important for buyers to see. Make sure you photograph the kitchen from every possible corner.
If you’d like to highlight a particular appliance or other detail, use a lower angle to show where your focus is.
Dining Rooms
Take two photos of the dining room, one looking in, and another looking out.
Bedrooms
For the master and other larger bedrooms, include two photos, one looking in and one looking out from a corner.
For smaller bedrooms, one photo may be enough. Use your judgement to pick the corner that enables you to see the room most completely.
Bathrooms
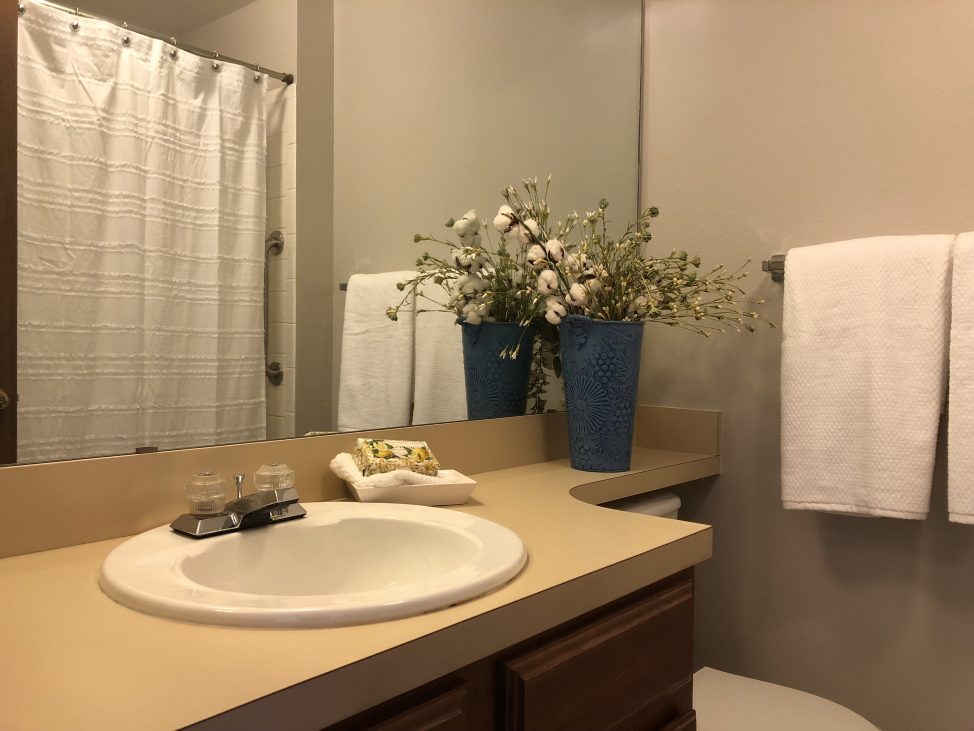
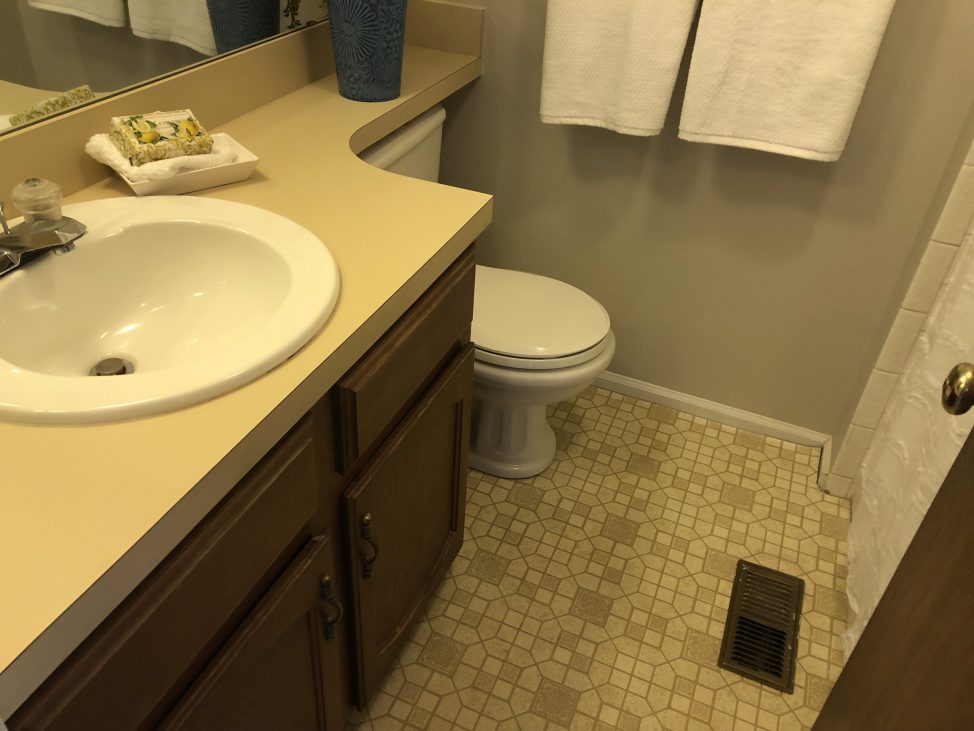
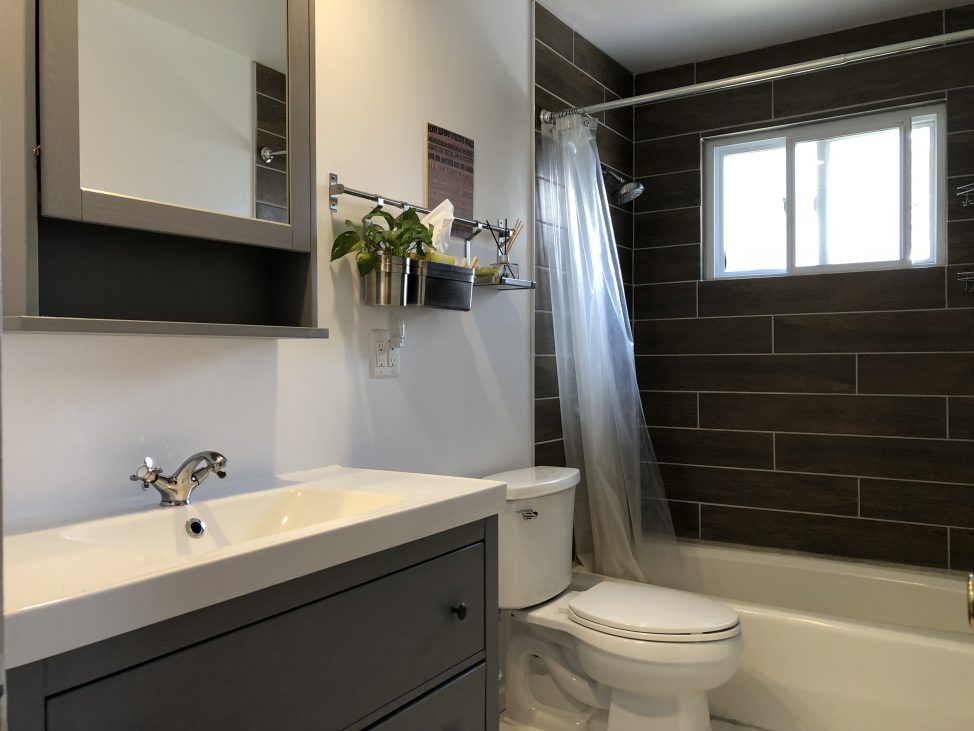
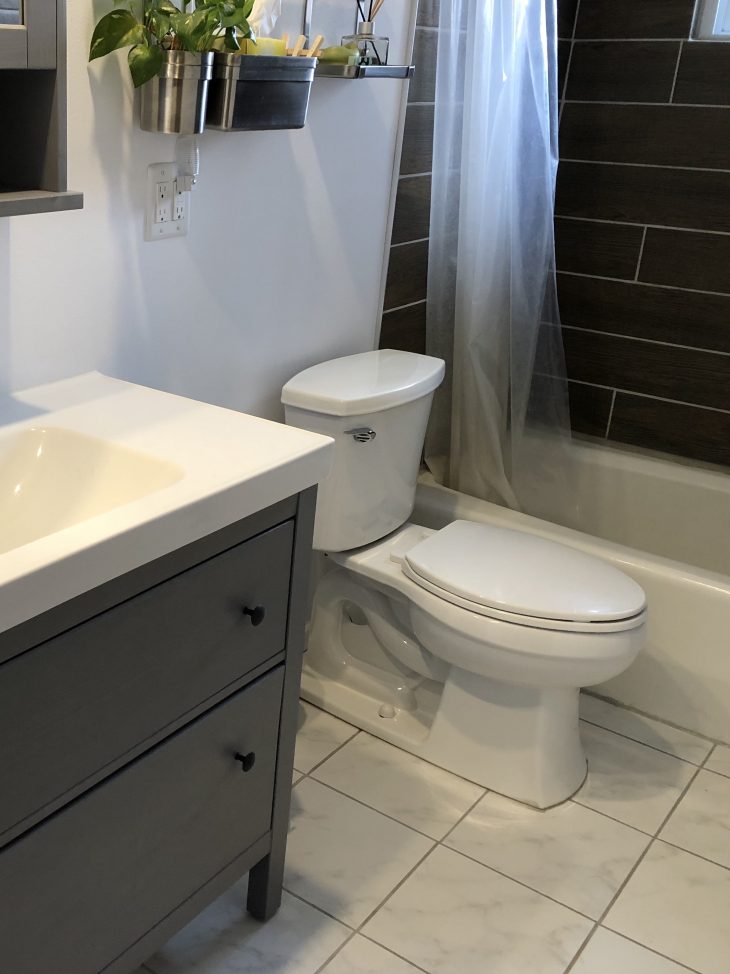
Bathrooms are difficult to photograph well since they are so small. If possible, it’s best to shoot bathrooms from as far back in the doorway as possible, looking in.
Shoot the bathroom from a lower height than other rooms (maybe hip-height), and be sure to still keep your phone perpendicular to the ground. Focus on the sink faucet and don’t worry if not everything is in the frame.
Make sure the toilet lid is closed and the vanity is free of clutter. And keep an eye on the mirror to make sure your reflection isn’t visible.
Other Rooms
We don’t recommend photographing any unfinished spaces. The same goes for garage interiors, laundry rooms, and closets unless they are immaculate and add meaningful value to your home.
Exteriors
Always include a straight-on shot of the front of the house, taken from about head height.
Stand far enough away to see the peak of the roof without tilting your phone up. This will most often be the primary picture on your listing, so take a little time to find the perfect angle. Ideally you’ll want about the same amount of sky at the top of the frame as ground at the bottom.
If there are amenities like a community pool, gym, or shared open space that may increase interest among buyers, shoot them as well.
Shoot the back yard like you would a room, taking photos from each corner and making sure to highlight any patio or deck space. If the yard is large enough to take a straight-on shot of the back of the house, include that too.
What to do when you’re done
Share your photos with your agent. The files will be large, so be sure to coordinate the best way to upload them so your agent can view them. If you need to email photos, be sure to include the full-size image, not a scaled preview.
It should take about 30 minutes to shoot every room in an average-sized house, and you’ll probably end up with about 50 photos. Work with your agent to narrow them down to the best subset within the limit your MLS allows. Follow this advice, and your home will look great, no matter who is behind the camera.
Zack Sulsky is Trelora’s Chief Product Officer. Zack joined Trelora in 2017 and has helped lead the company from its roots as a local real estate disruptor to a growing national brand. In his role as CPO, Zack is responsible for customer experience, product, and technology. Prior to joining Trelora, Zack was cofounder and COO at Edify, a Techstars- and NSF-backed startup in educational technology.
