1. GET YOUR WINDOWS & DOORS READY

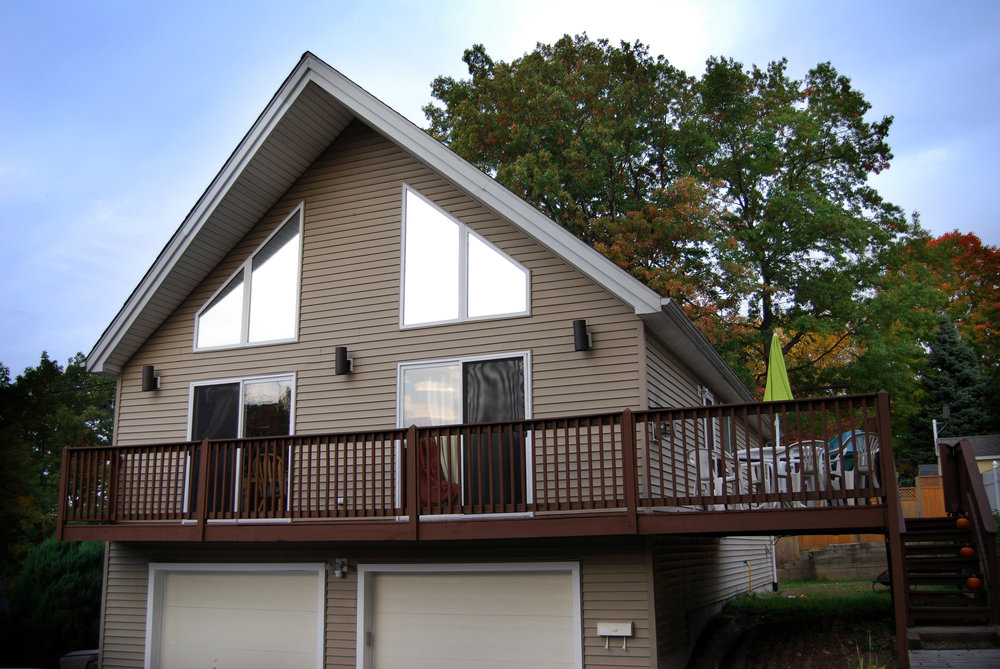
Your heating dollars could be going out the window if you have tiny unsuspecting leaks or holes letting the hot air out. If you’re looking for ways to winterize your home, pay attention to your windows and doors. Reducing heat from escaping your home and reduce your bill.
If there are gaps in the trim, you can put rope caulking (mortite) inside the window cases and along the cracks of the outside window frame. Alternatively, you can take some good ol’ cotton balls and tweezers and shove them into the gaps or cracks where you feel air coming in.
Keep your curtains open during the day to let the sun heat up your home and close them at night to help retain heat. If you’ve got some room in your budget, you can change out your curtains to a heavier fabric to help keep the heat in. Plus, you can decorate your home for the season with new window dressings in fall hues. When in doubt, you can turn on your ceiling fans to help keep the warm air directed towards the inside of the house instead of escaping out the windows.
Install weatherstripping and a door sweep in order to seal up those cracks. Check with your local hardware store (or Google) to determine what type of weatherstripping you’ll need. These quick, affordable fixes are easy to do and will be extremely effective for you in the long run. If you’re looking to spend some money and really lock in heat, you may want to consider double pane windows.
2. CLEAN YOUR GUTTERS

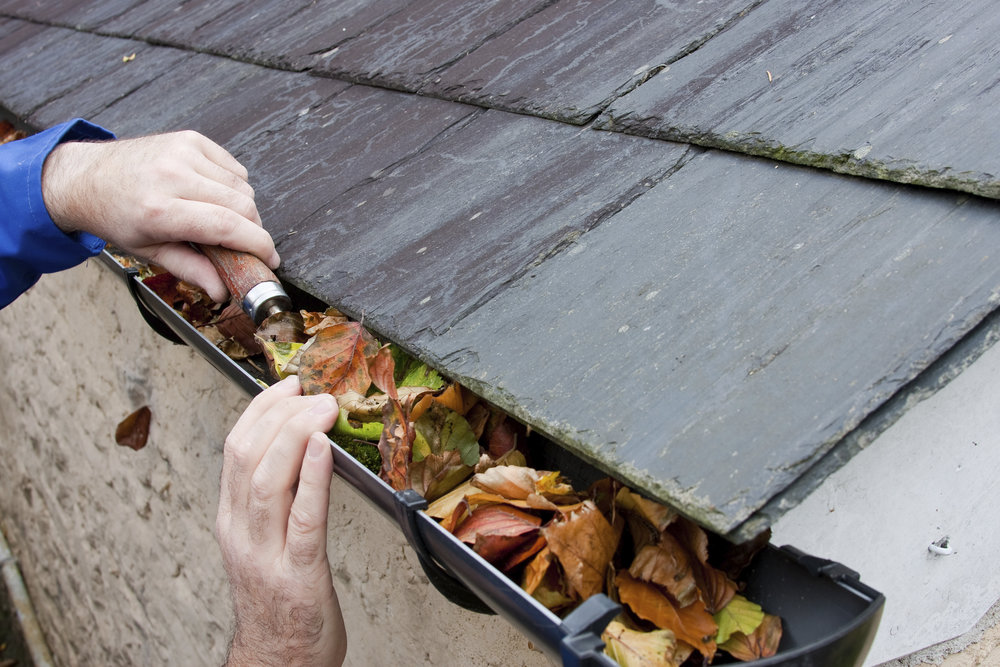
Get rid of any buildup or blockages when the last leaf falls! Eliminate the possibility of flooding (and unwanted costs) by taking less than an hour of your day to attend to your gutters. Avoiding this task can result in mold and pollen, foundation damage, pest invasion, ice dams, and more.
Quick note: Make sure you gather all your tools outside and a sturdy ladder before approaching this task. It can get messy and you don’t want to track dirt in and out of your home. Also, if you take a garden hose to the little bits and pieces at the end you can make sure your gutters are super clean and the downspouts have good clearance at the same time.
This tutorial from PlanItDIY has a helpful video and explains clearly how to attack this task.
3. CLEAN YOUR FURNACE AND CHANGE THE FILTER

This is a simple yet important step in preparing your home for the winter. Two critical parts to this step are changing your furnace filter and installing a programmable thermostat. Not only will changing your filter save you money by keeping your furnace running at peak efficiency, you’ll also reduce the amount of pollutants entering your home, sweet home. You can also extend the life of your furnace by making sure you take care of this task periodically. Check out this tutorial from The Family Handyman so you can do it all by yourself! If you live in an old house, check out these tips to heat it.
Next, install a smart home system or start with a programmable thermostat. They’re easy to install and there is no shortage of YouTube tutorials that can help you out if the written instructions aren’t enough. With simple programmables costing as low as $20 or a Nest Learning Thermostat running you $250 per unit, there are plenty of options to suit your financial needs.
4. PREP THE FIREPLACE
Make sure your fireplace is cleaned and functioning properly by inspecting it thoroughly. Check the exterior part of the fireplace to ensure the chimney cap is present and in good condition. If this critical part is missing, you can expect flooding in your house and a whole lot of mess. Side note: this metal piece makes sure snow, rain and other debris doesn’t get into your chimney and also prevents sparks from landing on your roof, possibly creating a fire situation.
Take a flashlight and inspect the inside of the fireplace. Check to make sure it is free from combustible materials such as a bird’s nest and the flue opens, closes and seals well. If you do this during the day you should be able to see daylight when looking through an open damper.
Make sure to keep the damper closed when the fireplace is not in use. This can be a major source of heat escaping your home, thus making your bill much more damaging than necessary.
Home Depot created a handy video that walks you through the steps to get your fireplace ready.
5. CLEAN & PREPARE YARD EQUIPMENT FOR SPRING
Who hasn’t heard the old adage, “fail to prepare, prepare to fail?” Well, when it comes to snow in Colorado – or basically anywhere where it snows – you can bet this will be relevant very soon. Not only should you make sure to clean your spring-summer tools before putting them away, you should also prepare your snow-clearing equipment before the first snow falls. This way you won’t be overwhelmed when there’s a surprise flurry. Plus, your spring equipment will be quietly waiting, all clean and ready.
Comment below with additional tips & tricks that you’ve found useful in your winter-prep routine! Let us know if you have suggestions for more blog posts that you would like to see from the TRELORA Team.
Christopher has been been in the Real Estate industry for 8 years and has had the opportunity to close over 1,000 deals while acting as the Managing Broker for thousands more. Christopher is passionate about continuing to find ways to simplify, maximize, and serve Trelora’s clients exceptionally well and spends his time building teams to deliver high levels of service. When not doing real estate Christopher can be seen training for marathons and ultra relays with his 2 year old daughter, eating pizza, and drinking a steady stream of Diet Coke.


